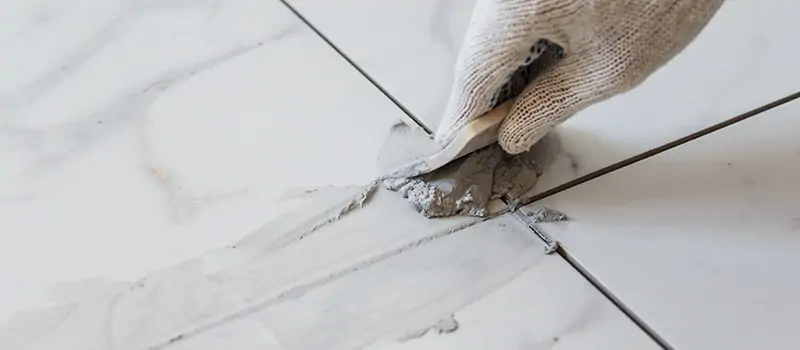
This grout workshop, conducted by Jim from Tile Outlet of America demonstrates how to apply grouting material work in tiles effectively. Grouting removes the gaps and space between tiles. Therefore, the surface becomes smooth, regular, and secure.
Additionally, this product comes in several colour options. Therefore, your grouts for tiles can give a monochromatic or contrasting look to the overall surface.
Find out how to apply the grout of the tile correctly so that you get long-lasting durability and functionality.
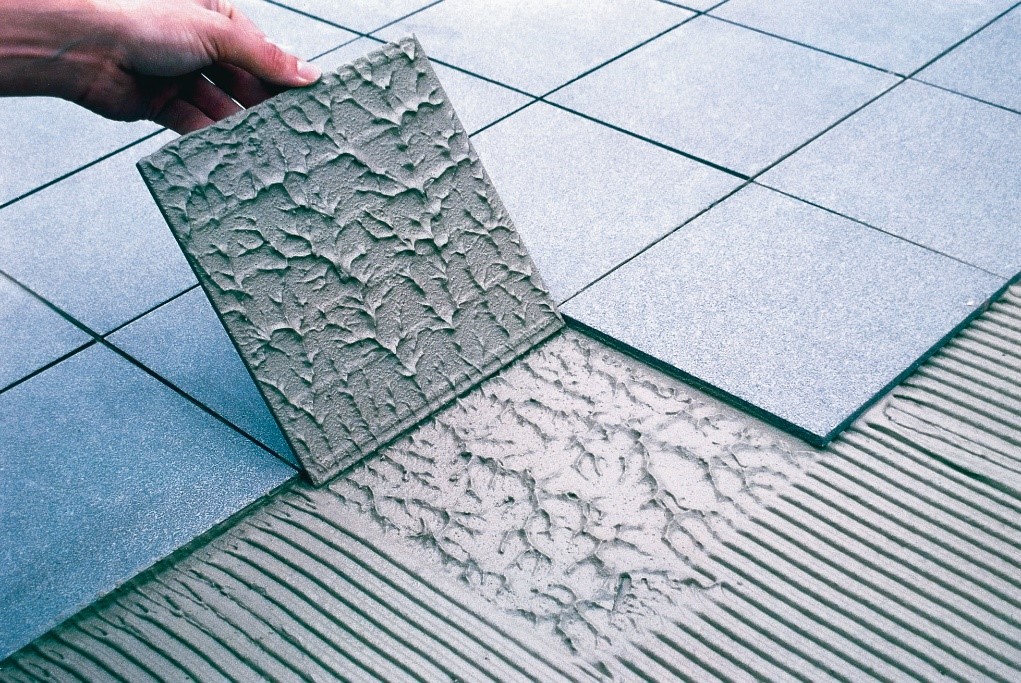
The procedure involves filling the gaps between tiles. The majority of the alternatives are available in powder form, but premixed packages are also available. Follow the manufacturer’s instructions for mixing grout, whichever type you choose. Keep any remaining dry mix for future repairs, but keep it dry and away from moisture.
After the tile has been installed, grout is used to fill up the gaps between the tiles. The majority of products are a powdered mixture of cement, lime, colour pigment, and occasionally sand that hardens when mixed with water and allowed to cure.

Image Source: Limestone Company
Advantages of grout material
Grout comes with a slew of advantages:
- It provides a clean, complete look to your floor or wall.
- The material keeps dirt and debris out of between and beneath your tiles.
- It gives the tile installation more rigidity and strength.
It’s critical that you choose the correct grout material for your project. Begin by calculating the distance between the tiles.
- Use sanded grouting material for work if the gap is larger than 1/8 of an inch. Unsanded material will shrink as it cures, failing to fully fill the joint.
- If the width of the joint is 1/8 of an inch or less, use unsanded acrylic latex or epoxy to cover the joint thoroughly.
- Another alternative for these joints measuring 1/16″ to 1/2″ is TEC Power Grout, a product that represents innovative grout technology.


