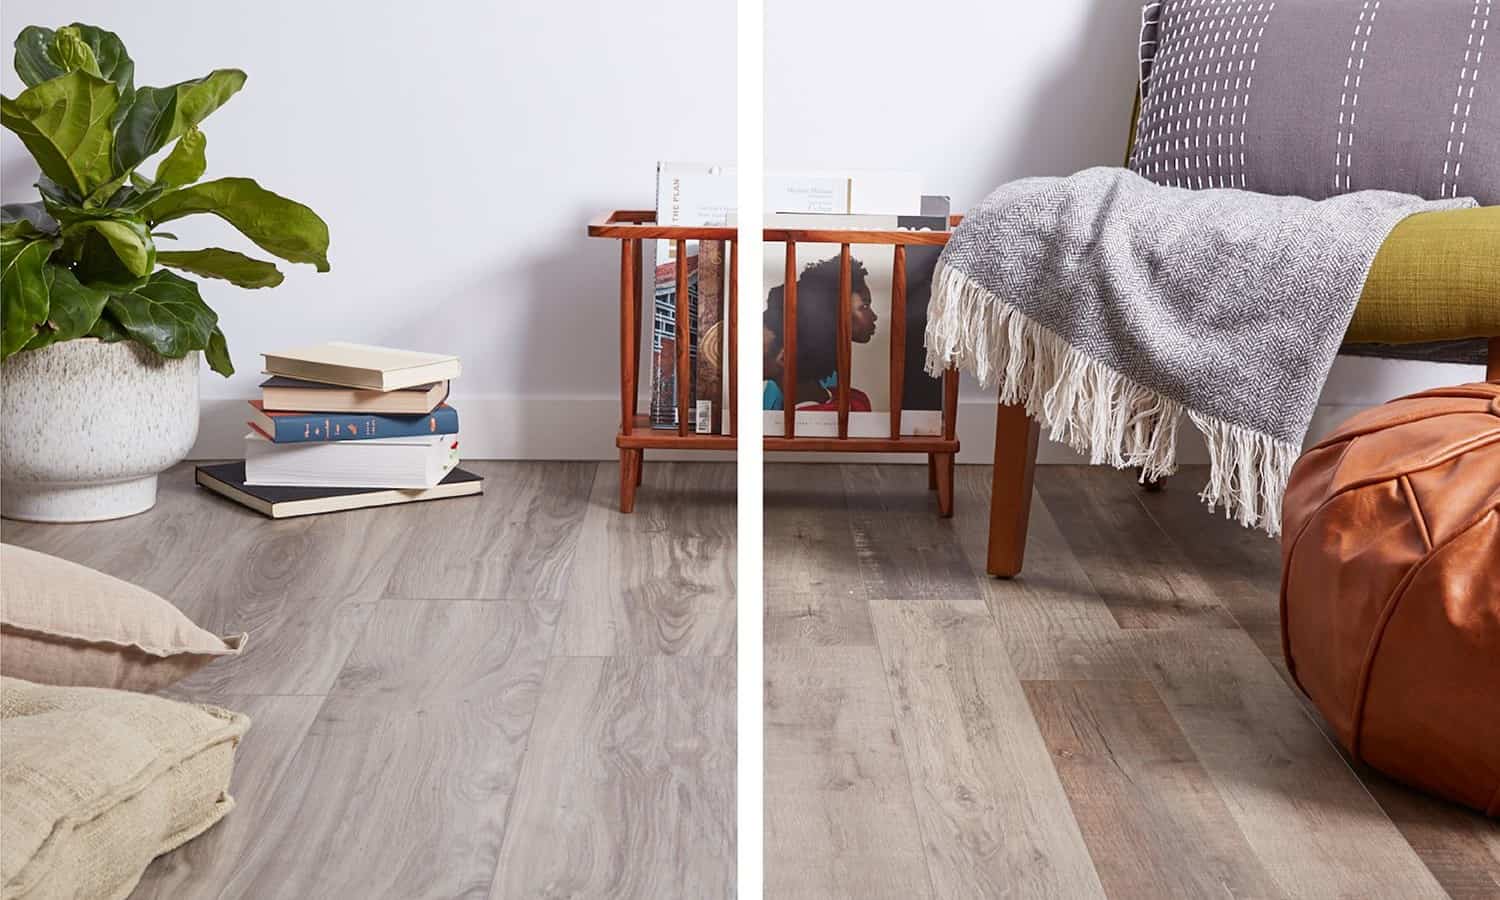

When it comes to updating the look of your outdoor space, composite deck tiles are the best option. These deck tiles are an eco-friendly option made of natural wood grains and an interlocking base for quick and easy installation. Here, we will look at some benefits of outdoor flooring powerhouse – composite deck tiles. Moreover, this guide will walk you through composite deck tiles installation in just a few simple steps.


Benefits of installing composite deck flooring
- They are made up of recycled wood and glue which are insect, weather, and mould resistant. Moreover, they are UV resistant which prevents wood from fading.
- Unlike, concrete or ceramic tiles and wooden deck planks, deck tiles are quick and easy to install.
- You can change your outdoor area appearance easily by changing the layout & placement of the tiles for a fresh look.
- These tiles are a low-maintenance outdoor flooring option that can be installed directly over decks and patios.
- They have realistic looks and stunning patterns which makes them an excellent addition to your outdoor living spaces.
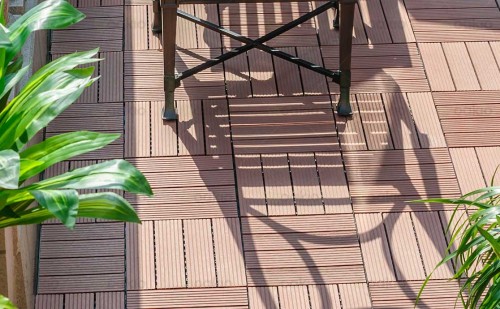
Image Source: oakia.com
How to install composite deck tiles?
- Firstly, you’ll need the appropriate number of tiles to cover the desired area, as well as a clean, flat installation surface.
- Before buying the tiles, measure the area where you are going to install them. If you want borders around your deck, make sure to take that into consideration when measuring the space.
- When you’re ready for the installation of composite deck tiles, remember to start from the front left corner and work your way out from there.
- Make sure the side of the tile with the loops is facing away from the edges.
- After creating a perimeter with the deck tiles, proceed to fill in the rest of the space.
- If you encounter any walls or barriers, measure the gap between the last tile and the wall. Now, cut the tile accordingly with the help of a table saw, jigsaw, or tile cutter. While doing so, ensure to add a ¾ inch space between the tile and edges in case of tile expansion or contraction.
- Continue installing composite tiles onto your patio until it is completely covered and it’s done.
This DIY-friendly outdoor flooring snaps together quickly and easily using a peg and loop installation method. Using these few simple steps for the installation will make your work easy. When you upgrade your space with some of the best composite floorings on the market, you’ll wonder why you waited so long.