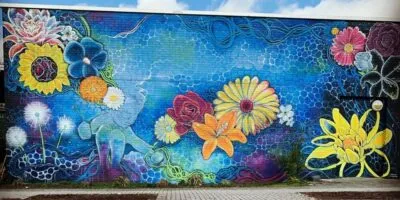
Mural painting is a beautiful and impactful way to transform a dull and uninteresting wall into a stunning work of art. One can depict a wide variety of themes, from landscapes and portraits to abstract designs on walls, using a mural. Artists often create murals as public art, and one can find them in public spaces such as parks, schools, and community centers. Adding a mural painting to a building adds visual interest, and it can also convey a message, tell a story, or promote a brand.
In this blog, we will discuss the various aspects of mural painting, including the process of painting a mural, the types of paint suitable for mural painting, and tips for creating a long-lasting mural.
So, whether you’re an artist looking to create a mural or a property owner looking to add colour and life to your living room or bedroom, this blog will provide the information you need to get started.
Contents
- 1 Tools & accessories required for mural painting
- 2 How to do mural painting (Step-by-step)
- 2.1 Step 1: Initial planning and sketching
- 2.2 Step 2: Preparing the wall surface for mural painting
- 2.3 Step 3: Applying the base coat
- 2.4 Step 4: Transferring the design of the mural painting onto the wall
- 2.5 Step 5: Painting the mural
- 2.6 Step 6: Finishing touches and clean-up
- 2.7 Step 7: Final evaluation and maintenance
- 3 Top 5 mural painting techniques
- 4 Watch this video: How to paint a mural tutorial (06 mins 27 secs)
- 5 The best paint for painting a mural
- 6 Tips for incorporating mural painting into the interior and exterior design
- 7 Ideas & inspiration for painting a mural (Image gallery)
- 8 Conclusion
Tools & accessories required for mural painting
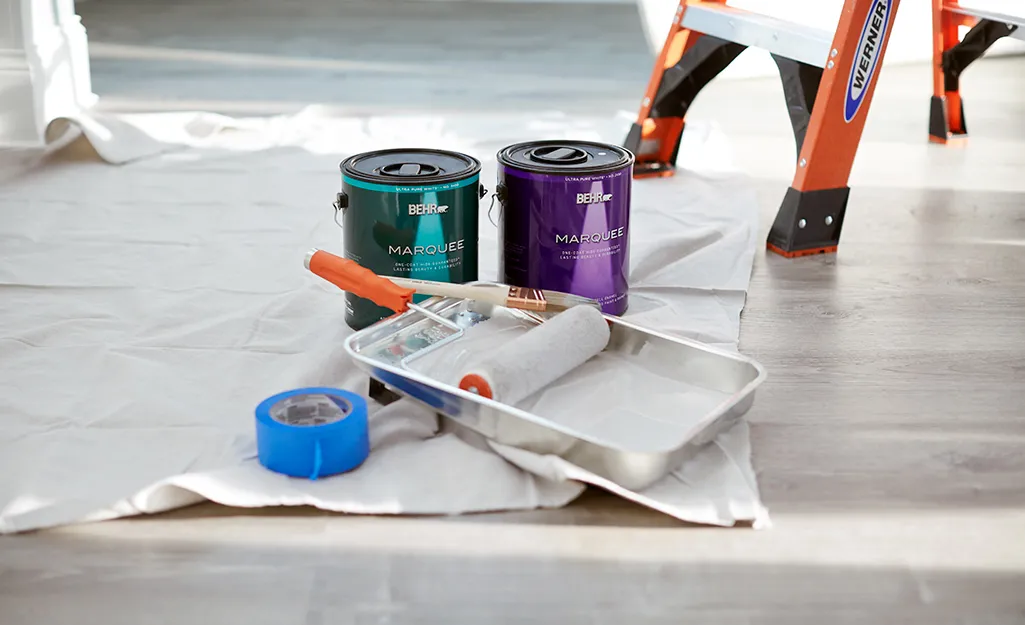
Image Source: Home Depot
Here are the details of the tools and accessories required for painting a mural:
- Paint brushes of various sizes for detailed work and larger areas
- Paint rollers and trays for covering larger areas quickly
- Drop cloths or plastic sheeting to protect the floor and surrounding areas
- Ladder or scaffolding for reaching high areas
- Masking tape or painter’s tape for creating clean edges and protecting areas not being painted
- Paint thinner or mineral spirits for cleaning brushes and rollers
- Paint sprayer for large mural projects
- Paint palette for mixing paint
- Paint extender for reducing the consistency of the paint
- Rags or paper towels for cleaning up spills and smudges
- Goggles and respirator to protect yourself from inhaling paint fumes
Having the right tools and accessories for your mural painting project is important. They can make the process easier and more efficient and help produce a professional-looking final result. The right tools and materials will make your mural painting process more efficient, and the final result will look more professional.
| Also read: Paints: A handbook for construction industry professionals |
How to do mural painting (Step-by-step)
Painting a mural is a complex and challenging but rewarding process that can transform a dull and uninteresting wall into a stunning work of art. Mural painting requires a combination of artistic skills and technical know-how.
It involves several steps, from initial sketches and planning to the actual application of paint. This blog section will outline the steps involved in painting a mural and discuss the necessary tools and materials.
Step 1: Initial planning and sketching
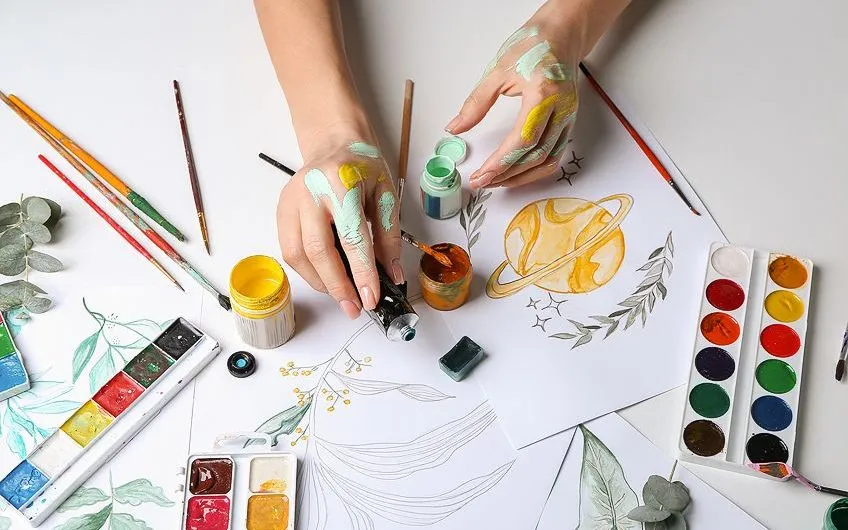
Image Source: Art in content
Before beginning to paint a mural, it is essential to carefully plan and sketch the design. This initial planning stage is crucial as it will help ensure that the final mural is visually appealing and structurally sound.
To begin, consider the location of the mural and the intended audience. Think about the size and shape of the wall or surface on which the mural will be painted and how this will affect the design.
It’s also important to consider the lighting and how it will impact the mural during different times of the day. Next, sketch out rough drafts of potential designs. Finally, it’s important to carefully review the final design before moving on to the painting stage.
Step 2: Preparing the wall surface for mural painting
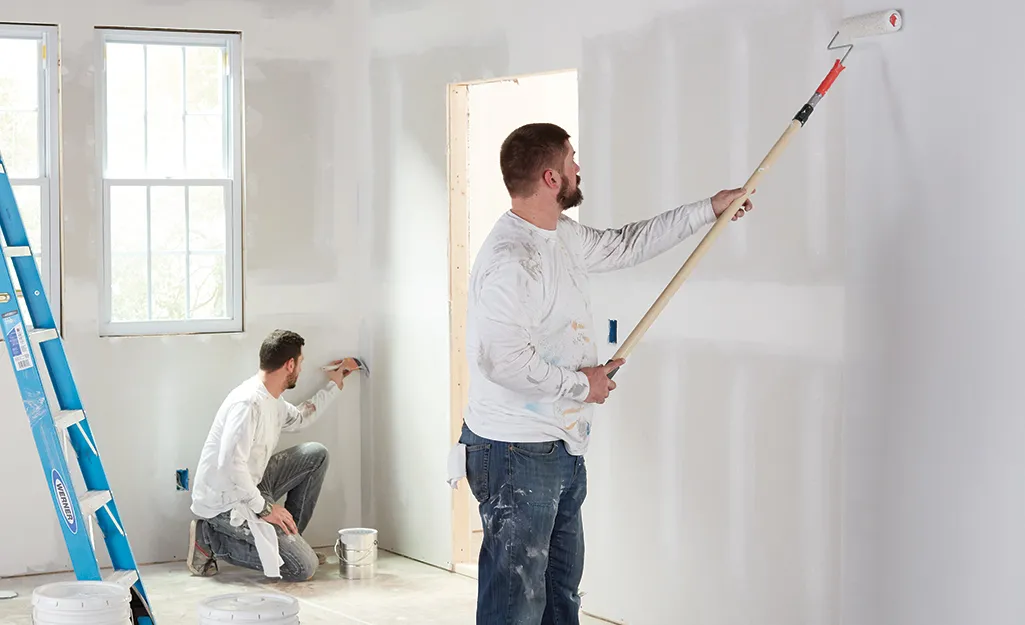
Image Source: The Home Depot
Properly preparing the wall surface is an essential step in the mural painting process. A well-prepared surface will ensure that the final mural is long-lasting and visually appealing.
The first step in preparing the wall surface is to clean it thoroughly. This includes removing any dust, debris, or other contaminants that may be present. The next step would be to apply primer to the wall. This helps to seal the surface and create a consistent base for the mural paint to adhere to.
Finally, applying a coat of sealant to the wall surface is a good idea. This helps to protect the mural from external elements and prolongs its lifespan.
Step 3: Applying the base coat
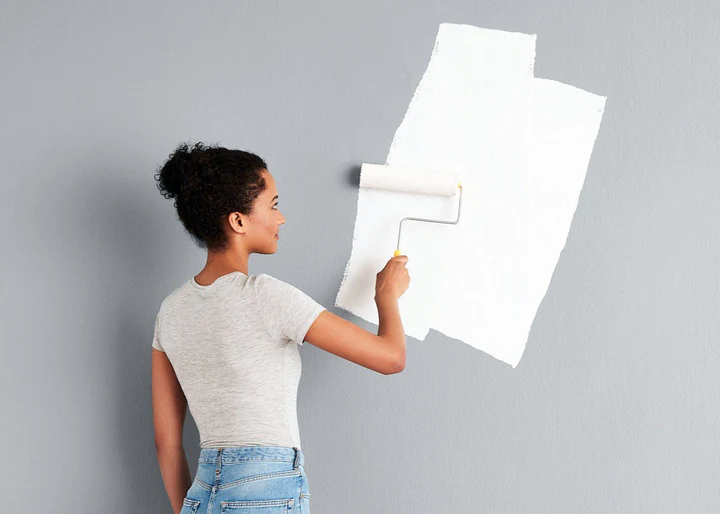
Image Source: Clare
Applying the base coat is an important step in the mural painting process as it sets the foundation for the final mural. The first step in applying the base coat is to mix the paint.
It’s important to use paint specifically formulated for mural painting, as it will be more durable and resistant to fading. Mix the paint thoroughly to ensure that it is consistent in colour and texture.
You should use a roller or brush to apply the paint to the wall surface. It’s important to apply the paint evenly, working in small sections simultaneously. It’s a good idea to allow the base coat to dry completely before moving on to the next step in the painting process. This will ensure that the final mural is vibrant and long-lasting.
Step 4: Transferring the design of the mural painting onto the wall
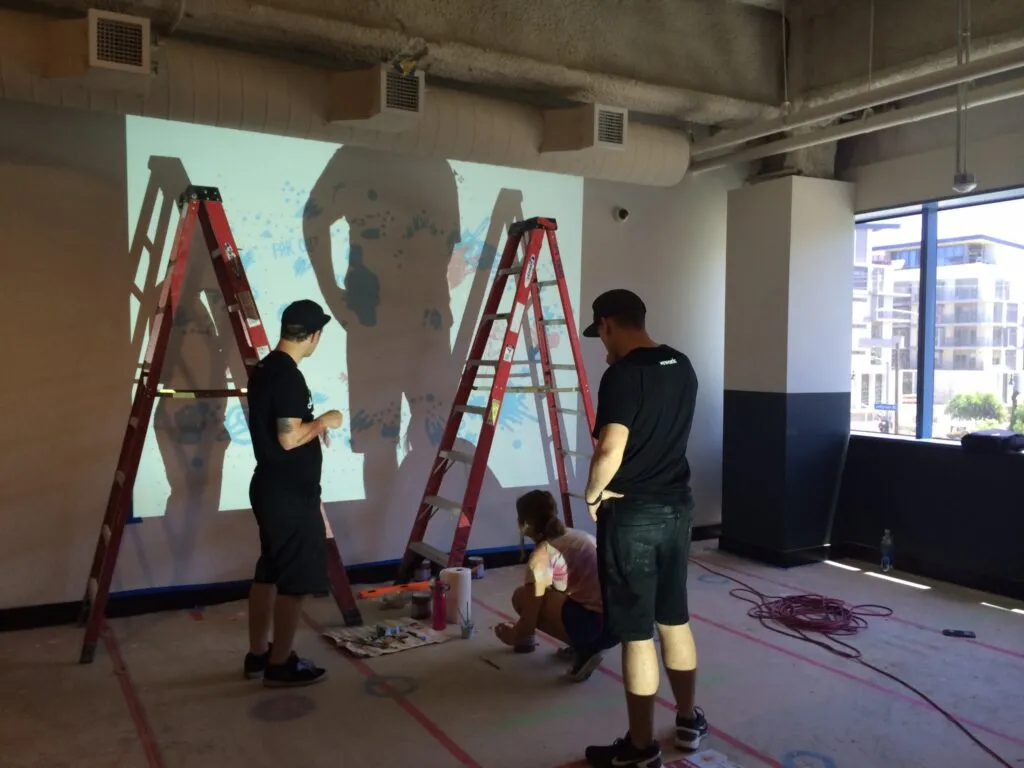
Image Source: EFdotStudio
Transferring the design onto the wall is a crucial step in the mural painting process as it ensures that the final mural is accurate and classy. There are several methods for transferring the design onto the wall, each with pros and cons.
One popular method is to use a grid system. This involves drawing a grid over the final design and then drawing a corresponding grid on the wall surface. Another method is to use a projector. This involves projecting the final design onto the wall and tracing it. A more traditional method is to use carbon paper. This method is time-consuming but allows for a more accurate design transfer.
Step 5: Painting the mural
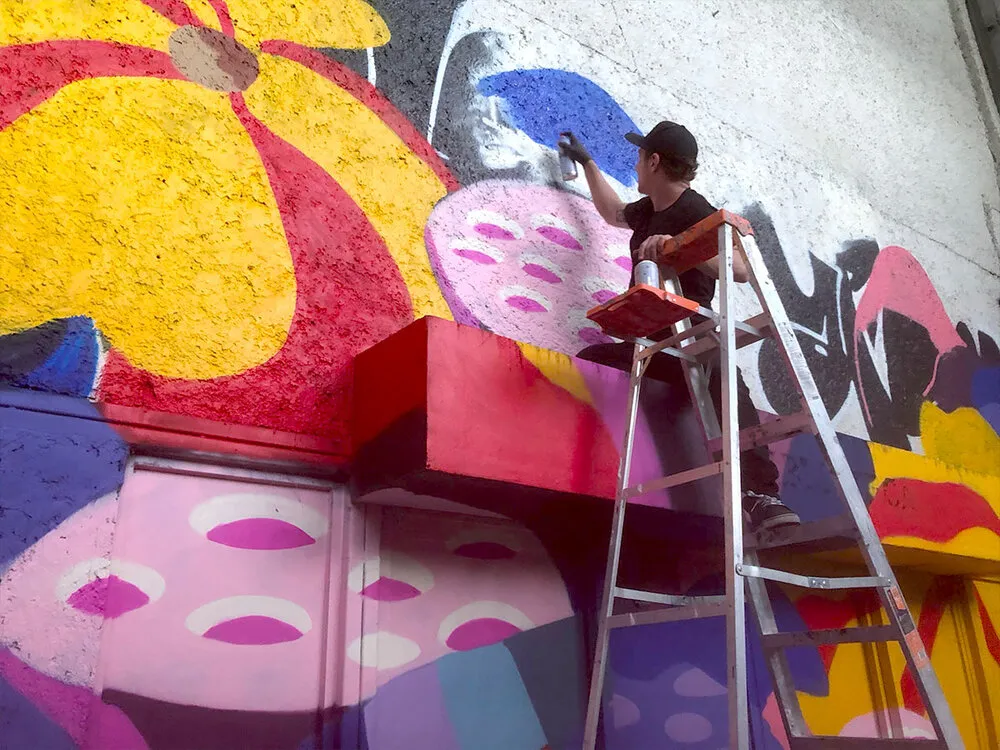
Image Source: EFdotStudio
Before starting to paint the wall, gathering all the necessary materials is important. This includes paint, brushes, rollers, and other supplies. Having a palette or mixing tray, water, and rags for cleaning brushes and making corrections is a good idea.
Next, start by first painting the background and larger areas of the mural. As you paint, it’s important to pay attention to the details and make necessary adjustments. This may include adding highlights, shadows, or other details to make the mural more classy.
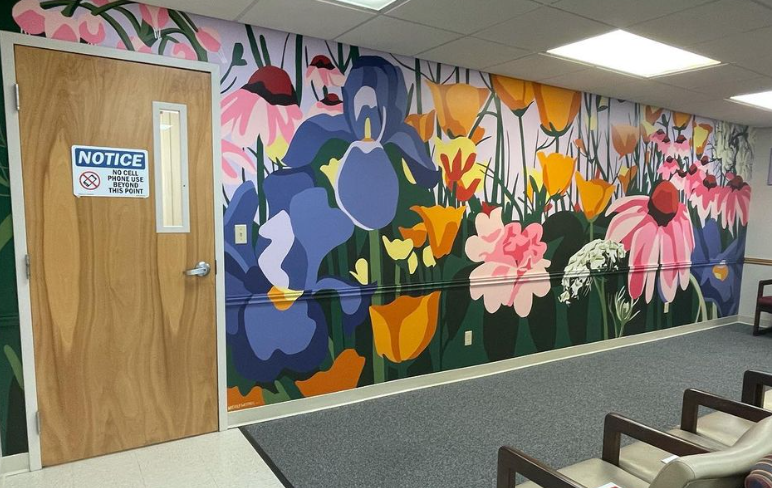
Step 6: Finishing touches and clean-up
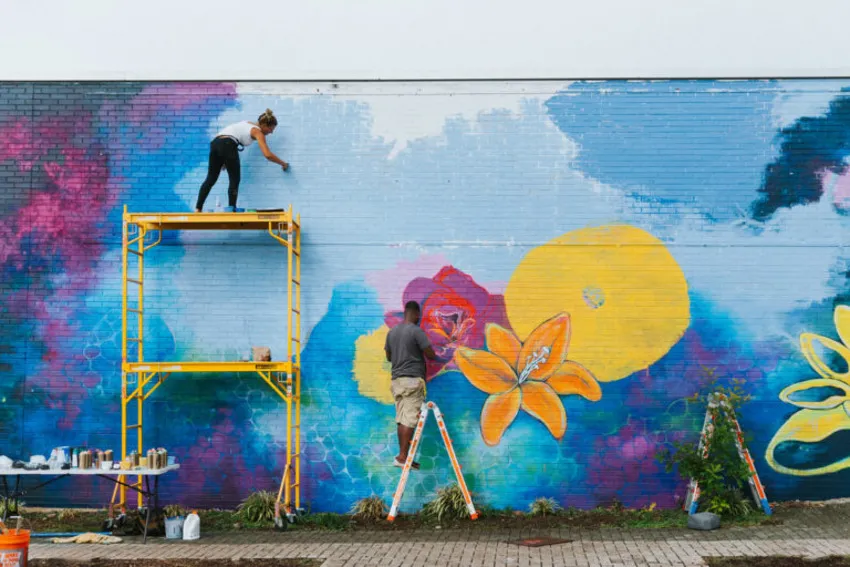
Image Source: Children’s Museum of Richmond
It’s important to add finishing touches and complete the clean-up process after painting the mural. This will ensure that the final mural is both visually appealing and protected. You should apply a clear coat or sealant to the mural to protect it and prolong its lifespan.
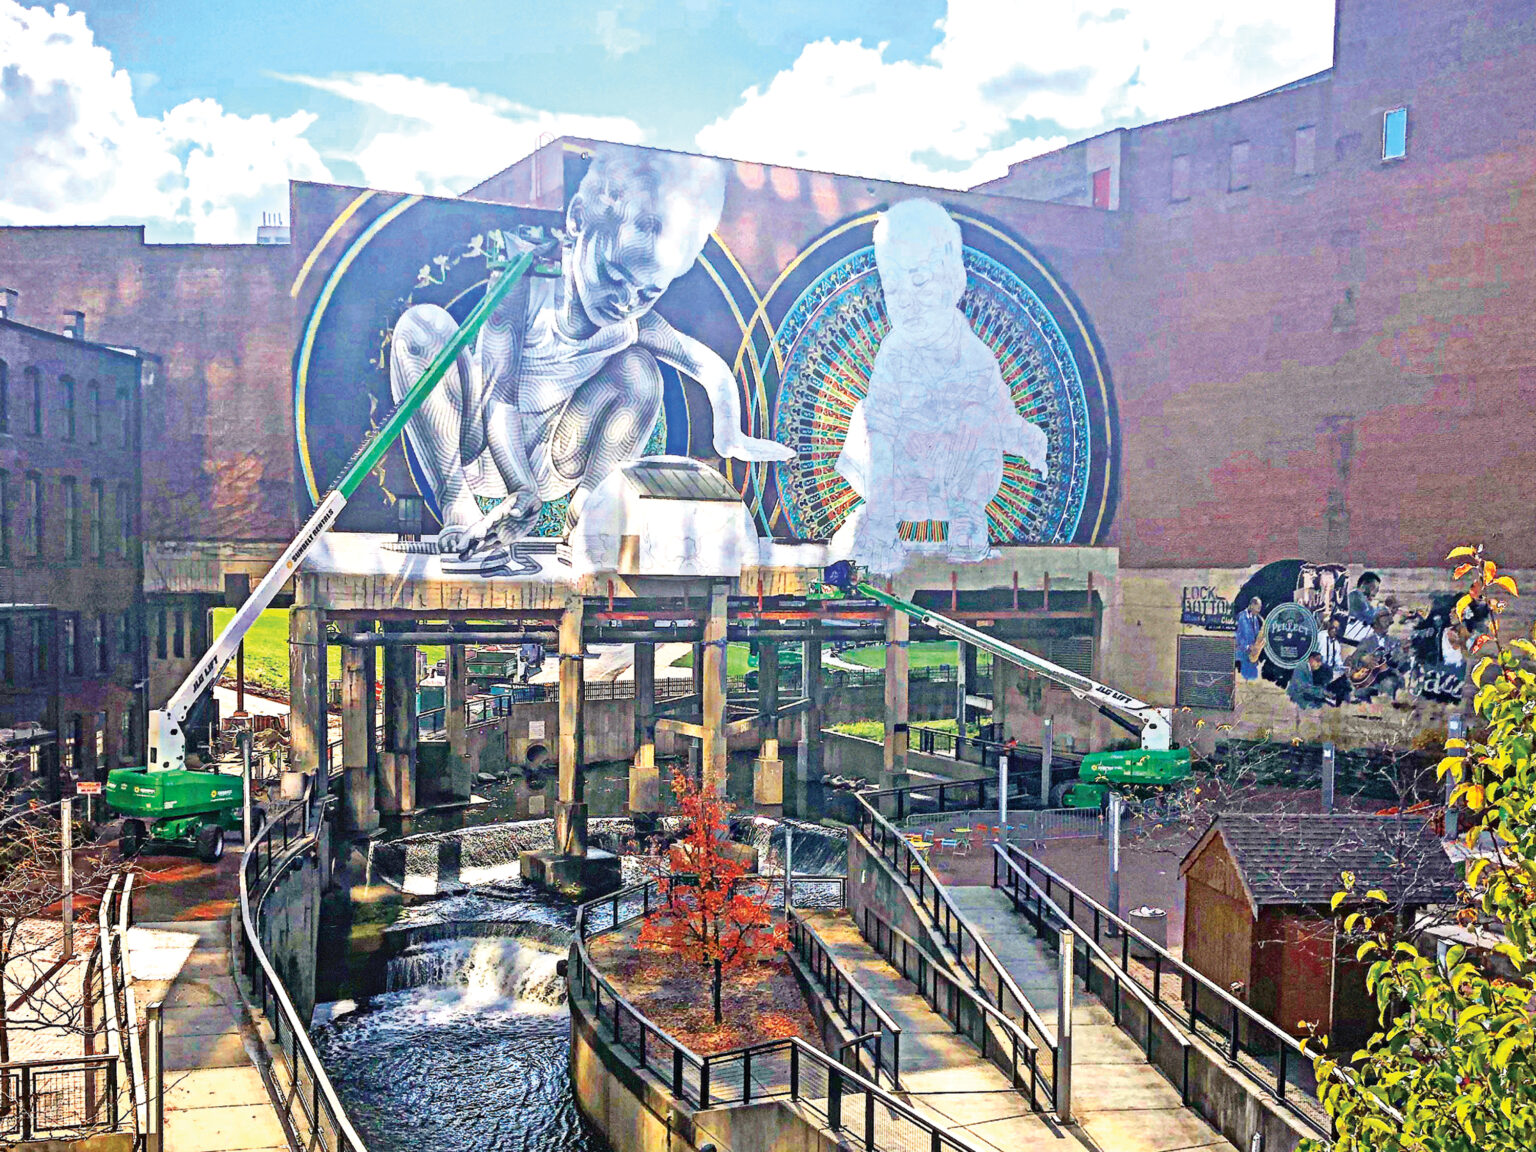
Step 7: Final evaluation and maintenance
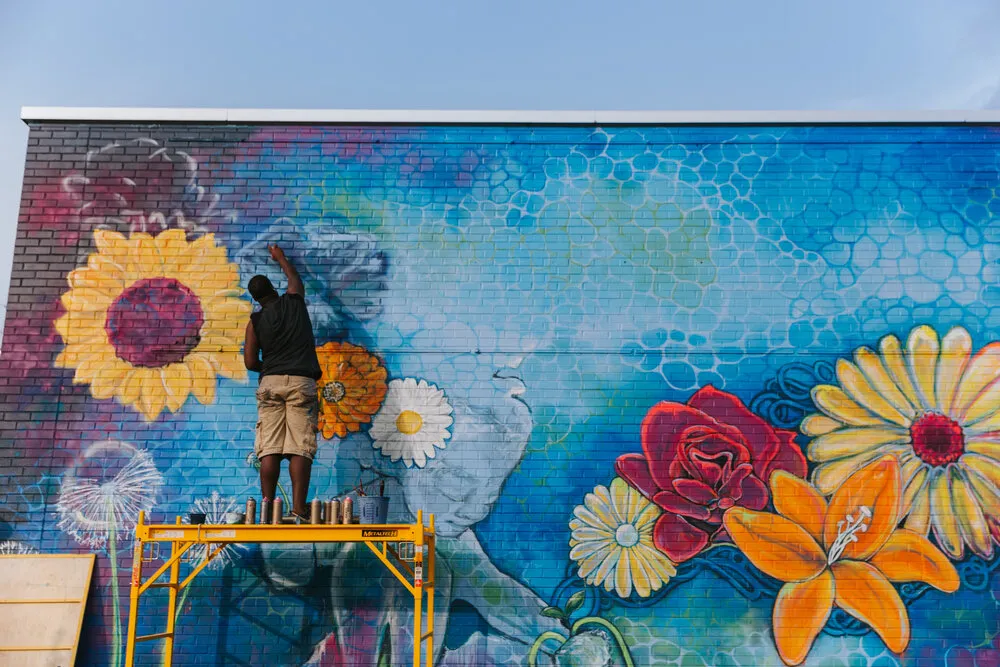
Image Source: Mending Walls RVA
Evaluate the final product and then establish a maintenance plan to ensure its longevity after completing the mural.
It would include establishing a maintenance plan to ensure the mural remains in good condition.
This may include regular cleaning, checking for any damage or wear, and making necessary repairs. Finally, consider creating documentation of the mural. This can include taking photos and videos or creating a time-lapse of the process.
| Also read: Painting the wall: Learn how to paint like a Pro (Step-by-step guide) |
Top 5 mural painting techniques
Mural techniques are a set of methods that are used to create large-scale, decorative paintings on walls or ceilings. These techniques can be applied using a variety of tools and materials, and each technique produces a unique effect.
- Sponging: Sponging is a mural technique that applies paint using a sea sponge, creating a textured effect resembling natural stone or marble. The painter dips the sponge in paint and dabs it lightly onto the surface in a random pattern until achieving the desired effect.
- Stippling: Stippling is a mural technique that indicates the application of small dots of paint to a surface with a brush or sponge. It creates a subtle texture resembling pointillism. The painter taps the brush or sponge onto the surface in a random pattern, repeating the process until achieving the desired effect.
- Stenciling: Stenciling is a mural method where one applies paint to a surface in a particular design using a pre-cut stencil. This technique creates accurate and duplicable patterns on a large scale. The painter places the stencil on the surface, applies paint, and removes the stencil when dry, leaving behind the design.
- Glazing: Glazing is a mural technique that involves layering translucent paint over a base coat to create a subtle, multi-dimensional effect. It is used to create faux finishes resembling wood, stone, or other natural materials. After applying a base coat, a layer of translucent glaze is added, and various tools can be used to create a textured effect.
- Painting: Painting is a technique that uses brushes, rollers, or spray guns to apply paint in a specific design or pattern. It offers great flexibility and creativity as colours can be mixed and blended. Layers are added to build up the design until the desired effect is achieved.
| Also see: 63+ Wall paint designs – most people finalized one in 7 min max! |
Watch this video: How to paint a mural tutorial (06 mins 27 secs)
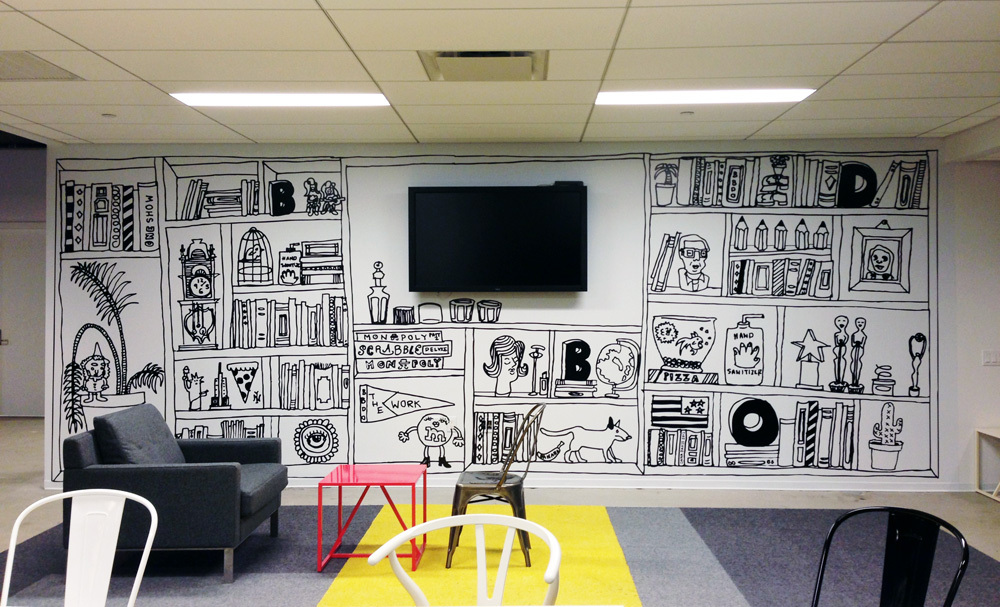
The best paint for painting a mural
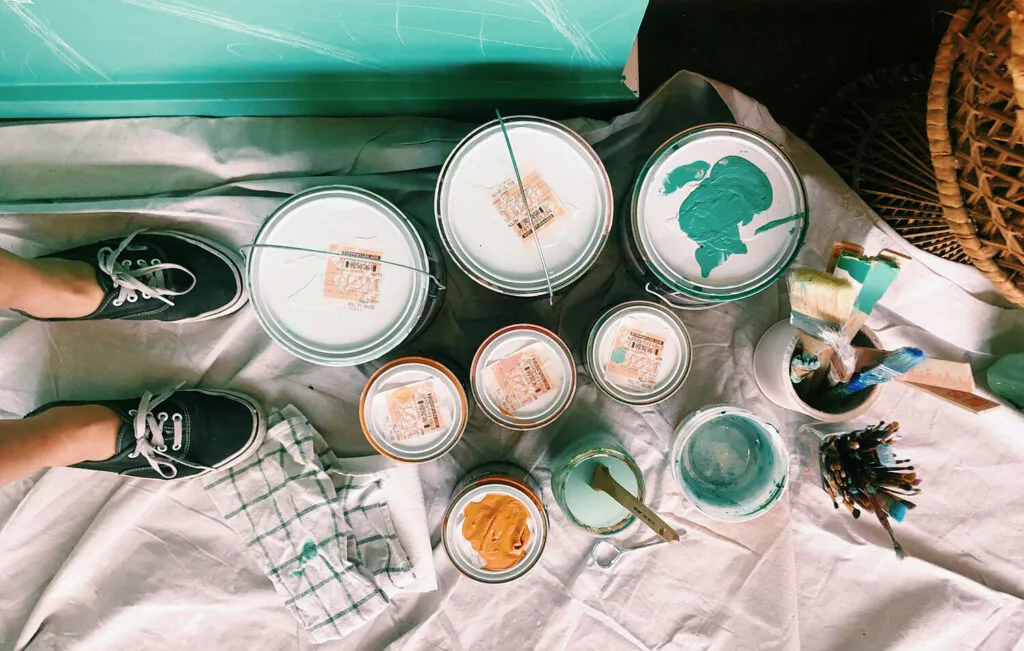
Image Source: Hom Sweet Hom
There are several types of paint that are suitable for mural painting, each with its own set of pros and cons.
Acrylic paint
Acrylic paint is widely considered the best for mural painting art due to its versatility, quick drying time, and durability. You can apply it to various surfaces like brick, concrete, and wood and easily thin it with water or thicken it with gels to produce varied textures and effects.
Additionally, acrylic paint is water-resistant and lightfast. So it won’t fade or deteriorate over time due to exposure to light or moisture. You can use this paint for exterior wall mural art as it can withstand any extreme change of weather.
Latex paint
Latex paint is also a popular choice for mural painting. It has a low odour, is easy to clean up, and dries quickly. You can apply it using a brush, roller, or sprayer. This paint comes in various colors and finishes. Latex paints are water-based and are, therefore, less toxic than oil-based paints.

Latex paint also tends to be less expensive than other types of paint and relatively easy to work with. However, over time, the paint may crack and peel, and extreme temperatures can also impact it, so it’s best used on interior walls.
Oil paint
Oil paint is another popular choice for mural painting. People recognize it for its rich, vibrant colours and its ability to produce a smooth, even finish. Oil paint is also slow-drying, which allows the artist more time to work with the paint. One can use it to paint on different materials like canvas, metal, and plastic and create various textures and effects.
Oil paint can be used for both interior and exterior walls because of its hard-wearing properties and dazzling colours. However, oil paint is more difficult to clean and toxic if not handled properly.
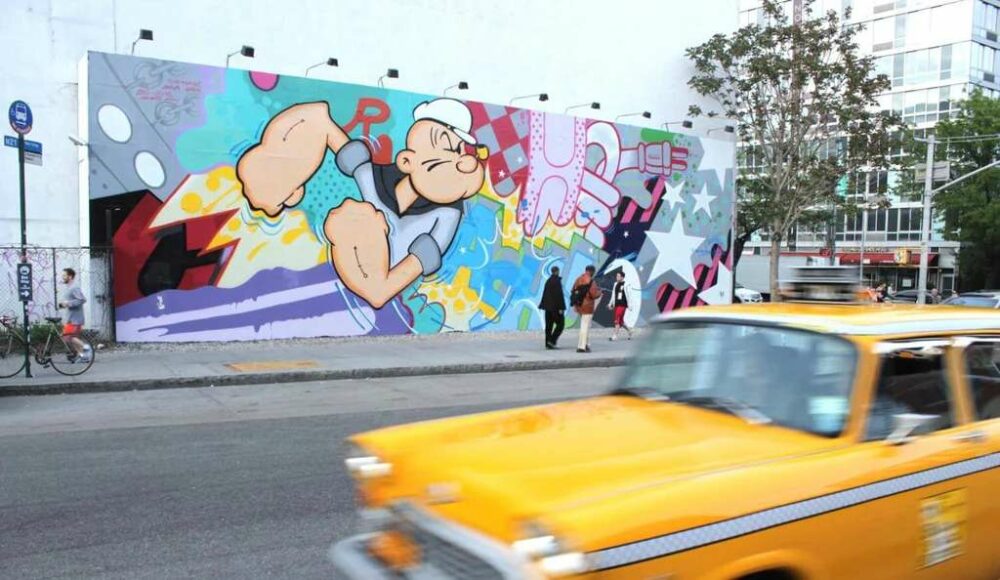
Spray paint
Spray paint offers a convenient solution for making big wall mural art, especially in cities where you want smooth, uniform coverage. It comes in various hues and finishes and works well on various materials like concrete, metal, and wood.
However, be cautious, as spray paint can be dangerous to use because of its strong fumes. So make sure to employ the right protective gear and methods and use it on outdoor walls.
It’s important to use high-quality paint for a long-lasting mural. This means paint that is specifically formulated for mural painting and that has been tested for durability and resistance to fading.
| Also read: Wall paint: Your guide for the perfect finish (prices incl.) |
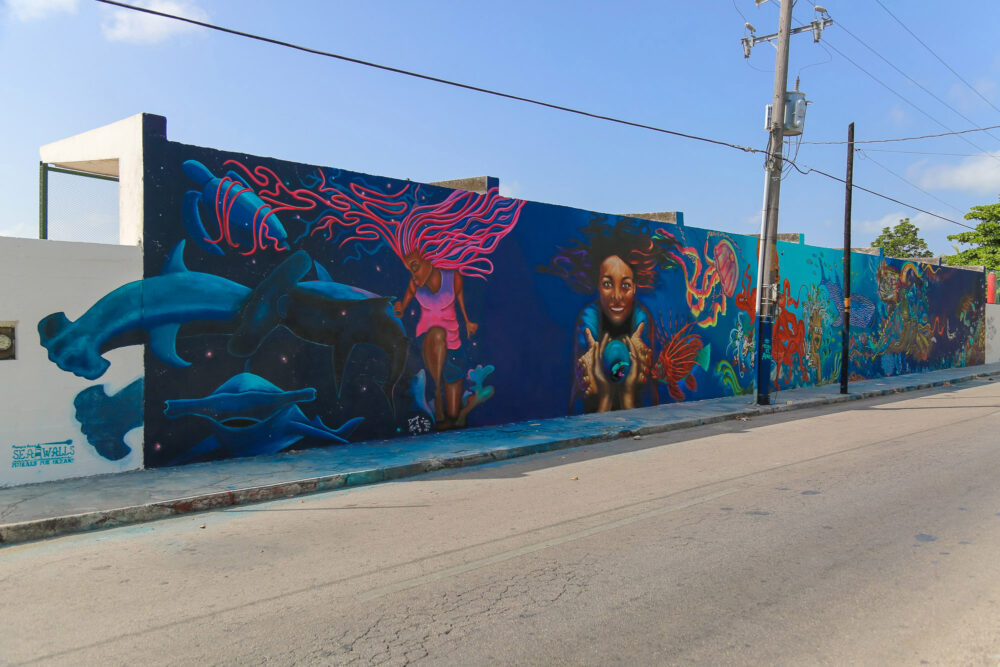
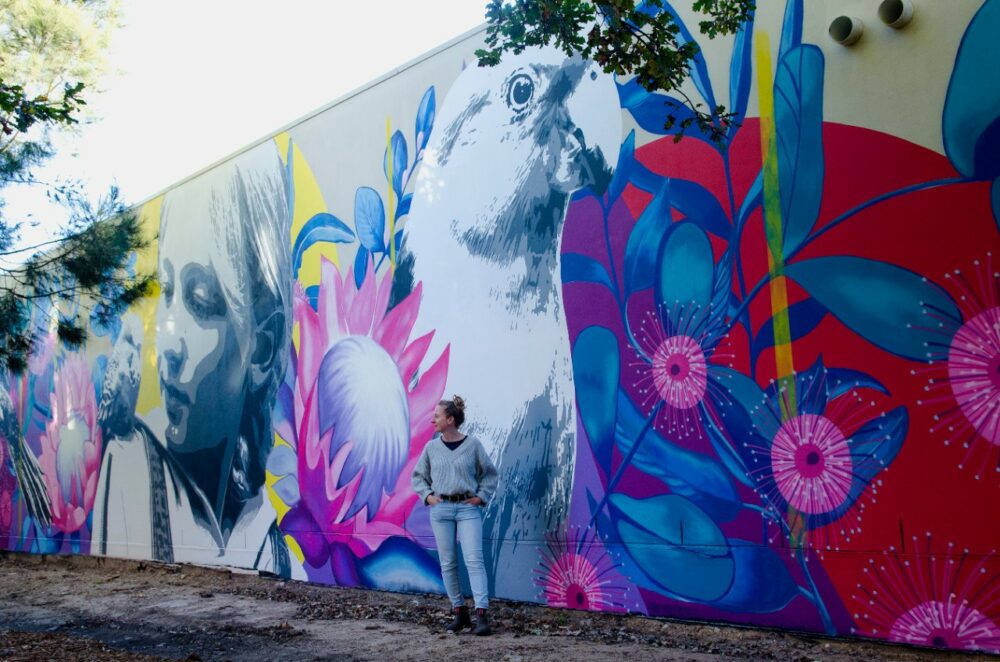
Tips for incorporating mural painting into the interior and exterior design

Image Source: Sea Walls
Painting a wall mural can be daunting, but with the right tools and techniques, it can be much quicker and easier. Here are some tips to help you get started:
Plan ahead
Before you begin painting, take the time to plan out the design of your mural. This will save you time and effort in the long run. Consider the size and shape of the wall, the colours you want to use, and the overall style of the mural.
Use a projector
A projector can help you transfer your design onto the wall quickly and accurately. Simply project the image onto the wall and trace it with a pencil or chalk.
Use a paint roller
A paint roller can cover large areas of the wall quickly and evenly. It’s also a great tool for applying base coats or primer.
Use a paintbrush for detailed work
A paintbrush is essential for adding details and fine lines to your mural. Look for brushes with fine tips and stiff bristles to help you achieve a precise finish.
Use quality paint
Investing in high-quality paint will help you achieve a better final result. Look for paint that is specifically designed for murals and that is resistant to fading and chalking.
Paint in sections
Breaking your mural into smaller sections can make the painting more manageable. This will also give you the opportunity to focus on one area at a time and make any necessary adjustments.
Take breaks
Painting a mural can be physically and mentally demanding, so taking breaks is important. This will help you stay fresh and focused throughout the painting process.
Type of paintbrush
When painting a mural art on the wall, the right paintbrush can make all the difference. For detailed work and fine lines, look for brushes with fine tips and stiff bristles. These brushes will allow you to achieve a precise finish and create intricate details that give your mural a sense of depth and dimension.
Consider using a variety of brush sizes, such as small, medium, and large, to tackle different areas of your mural. Additionally, synthetic bristle brushes are often recommended for acrylic paint as they are durable and easy to clean.
By following these tips, you can make painting a mural quicker and easier, allowing you to enjoy the process and create a beautiful piece of art for all to see.
| Also see: Top 10 paint companies in India | Best paint brands in India |
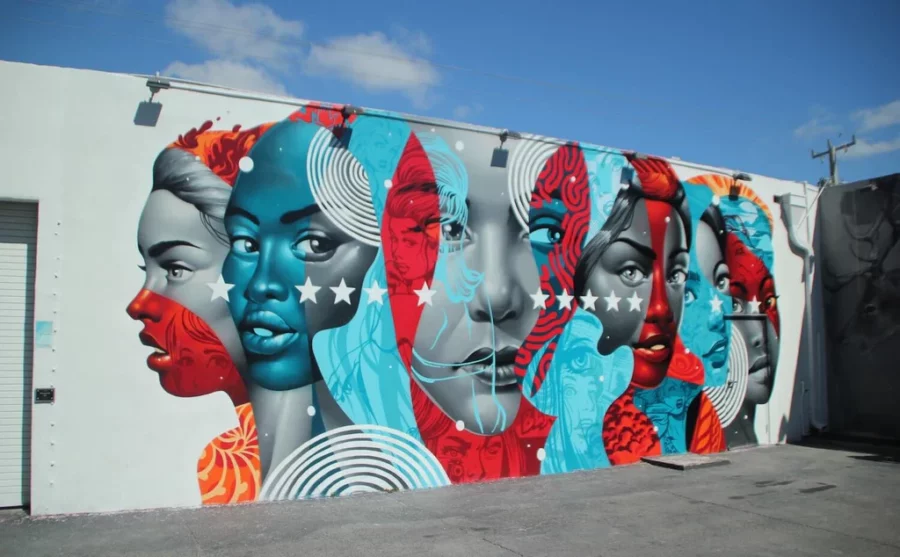
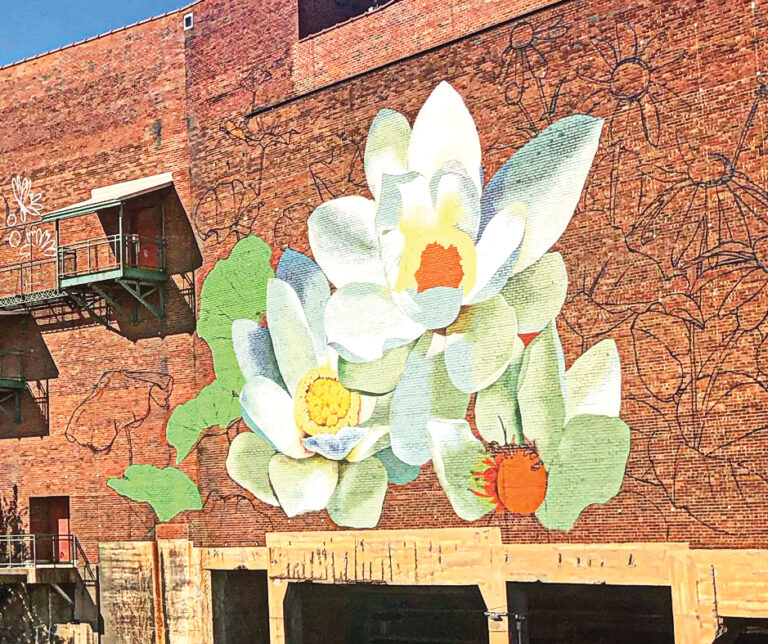
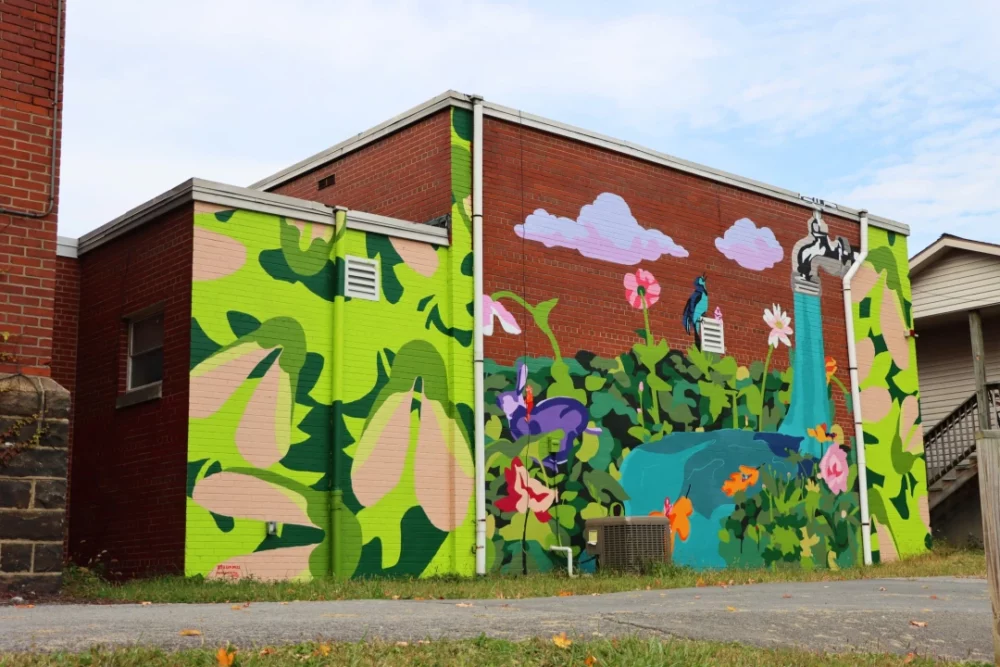
Ideas & inspiration for painting a mural (Image gallery)
-

Image Source: Sea Walls
-
Image Source: Nova color paint
-
Image Source: Pexels
-
Image Source: Unsplash
-
Image Source: Unsplash
-
Image Source: Unsplash
-
Image Source: Dana Davis design
-
Image Source: Nova color paints
-
Image Source: Katoomba
-
Image Source: EFdotStudio
-
Image Source: WBoy
-
Image Source: Akron
-
Image Source: Akron
-
Image Source: W Boy
-
Image Source: Jae Johns
Conclusion
Mural painting is an art form that can bring a touch of colour and life to any building. Whether you’re looking to create a focal point in a room, highlight a theme, or create a sense of space and depth, a well-designed mural can be a beautiful and unique addition to any space. Following this article’s steps and tips, you can create visually appealing and long-lasting mural wall art.
Paintbrushes and paints are some of the important tools required to create mural wall art. The process of painting a mural begins with the planning and sketching of the design, followed by sanding, applying a base coat, and finally, painting the mural art on the wall.
It is important to use high-quality paint for a long-lasting mural. Hence, a review of different types of paint that are suitable for mural painting, including their pros and cons, is provided for your convenience.
So, we encourage our readers to consider incorporating mural painting art into their buildings to bring a touch of colour and life. With the right planning, preparation, and execution, you can create a mural that will be a source of inspiration and enjoyment for many years.
Furthermore, you can peruse the aforementioned article for a thorough comprehension of the mural painting process and explore the image gallery for innovative mural painting ideas.
*The featured image used in this article is from Children’s Museum of Richmond